Please log in to your profile
How can we help?


Content
Clearing the BIOS/CMOS
CMOS is a small amount of memory on your computer's motherboard that stores BIOS settings. Clearing the CMOS resets these settings to their default values.
CMOS is a small amount of memory on your computer's motherboard that stores BIOS settings. Clearing the CMOS resets these settings to their default values.
When to Clear CMOS?
Clearing the CMOS is a straightforward process that can help resolve various issues with your computer. Always refer to your motherboard’s manual for specific instructions and precautions.
Reasons to clear the CMOS:
- Troubleshooting hardware issues
- Resetting BIOS/UEFI settings to default
- Resolving boot problems
- Overclocking failures
Steps to Clear the CMOS
Using the CMOS Jumper
Most motherboards have a CMOS jumper, typically labelled as "CLR_CMOS," "CLEAR," or "RTC."
- Turn Off Your Computer: Shut down your PC and unplug it from the power source.
- Locate the pins: Refer to your motherboard manual to find the exact location of the CMOS jumper.
- Short the pins: Some motherboards might just require you to short two pins with a metal object such as a screwdriver.
- Wait for 5-10 Seconds: Allow the metal object like a screwdriver to make contact with the pins for a few seconds.
- Power On the Computer: Once shorted, plug your PC back in and power it on to see if that assisted/did the trick.
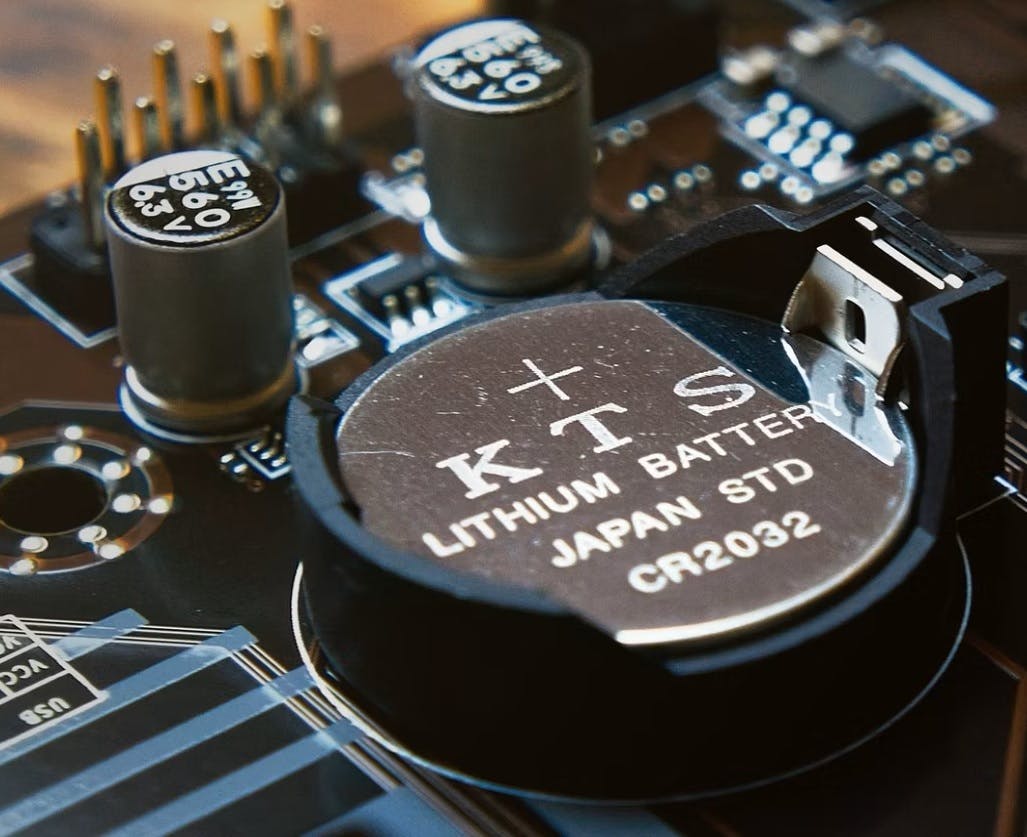
Removing the CMOS Battery
The CMOS battery provides power to the CMOS chip to retain BIOS settings.
- Turn Off Your Computer: Shut down your PC and unplug it from the power source.
- Open the Case: Open your computer case to access the motherboard.
- Locate the CMOS Battery: Find the small, round battery on the motherboard. It looks like a coin.
- Remove the Battery: Carefully remove the battery by gently prying it out with a non-conductive tool.
- Wait for 5-10 Minutes: Leave the battery out for a few minutes to ensure the CMOS memory is cleared.
- Reinsert the Battery: Place the battery back into its holder.
- Power On the Computer: Plug your PC back in and power it on to see if that assisted/did the trick.
Some modern motherboards allow you to clear CMOS settings directly from the BIOS/UEFI interface.
- Enter BIOS/UEFI: Restart your computer and press the designated key (usually Del, F2, or Esc) to enter the BIOS/UEFI setup.
- Find the Reset Option: Navigate through the BIOS/UEFI menu to find an option like "Load Default Settings," "Reset to Default," or "Clear CMOS."
- Select the Option: Select the option and confirm any prompts.
- Save and Exit: Save the changes and exit the BIOS/UEFI.
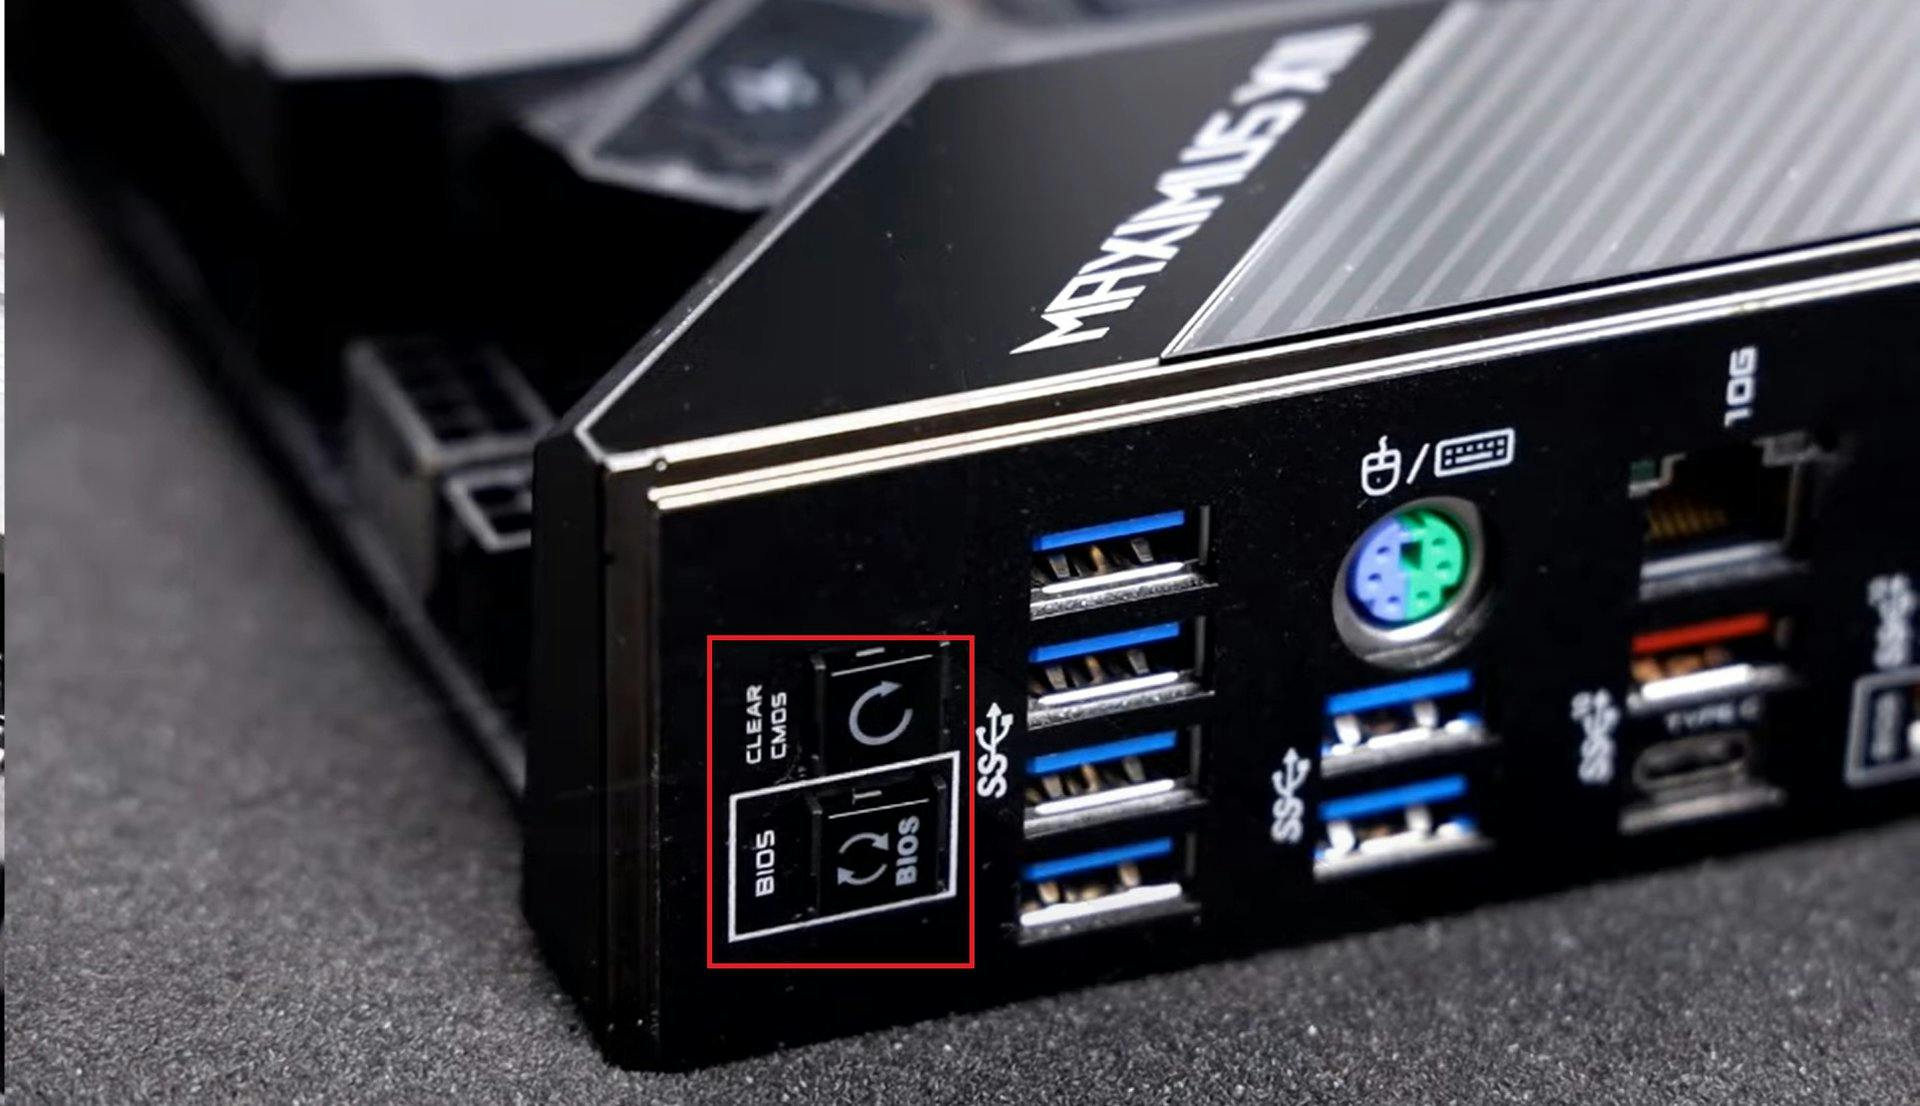
Some motherboards come with a dedicated CMOS reset button.
- Turn Off Your Computer: Shut down your PC and unplug it from the power source.
- Locate the Reset Button: Find the CMOS reset button on the motherboard. It’s usually labelled and sometimes backlit.
- Press and Hold the Button: Press and hold the reset button for about 5-10 seconds.
- Power On the Computer: Plug your PC back in and power it on to see if that assisted/did the trick.
What's Next?
After resetting the CMOS, monitor your PC to ensure everything is functioning correctly. If issues persist, consider further troubleshooting or contacting support for additional assistance.
For more in-depth troubleshooting and maintenance, consider the following guides:
- How to Perform a Power Cycle (Easy)
If you need further assistance or have any questions, feel free to reach out for additional support - we're always happy to help!
Did this fix your issue?


MY CART

Your Cart is Empty